


Well. It was simply a matter of time, really. After all of my talk about how much I love wall paper, and after all of the time I spent on this project...this post was inevitable. First I have to mention that I got the idea for this project from here.

Emily, I like to think of us as friends, has so many cute ideas and I just couldn't resist adapting this fun project. On a side note, isn't it funny how you start to think of bloggers as friends. The other day I referred to a blogger-not-to-be-named child's birthday and then thought :: I'm talking about this person's child and she doesn't even know I exist. WEIRD!
Anyway, this project was so much fun because it was an inexpenisve and not permanent way to get the look of wallpaper without the comittement. Although, my husband would say that 5 days of painting is commitment enough for him! Last fall I decided that it was time to add something fun to our Master bedroom. I loved the idea of wall paper, but couldn't afford the $plurge. So with a little creativity and some elbow grease we have something that we love even more.
First we will start with the final result, and then I will walk you through how we accomplished it!

looks like wall paper doesn't it?
This was a stencil. Not the kind that you order and paint, but the kind that we cut out of paper, transferred to the wall with pencil, and then painted on our pencil lines! But I think I am jumping ahead of myself!
Well, the first step was the main wall color for the room. Before Travis and I were married I painted the room, Grey Area by Behr. I loved the color, but as I said I really wanted to change this up in a major way. So lets hit the basics first:
1. Sample of grey-white paint, Sutble Touch by Behr
2. Paint brush. I wanted something a bit thick, and sturdy (I will explain why later)
3. Stencil
4. patience
First, I choose a light grey/white color to offset the dark grey on the wall. I wanted to keep the wall relatively neutral, although I have seen other ladies do something similar with bolder color choices. The next step was the design and shape of the stencil. I used something similar to Emily although I think our stencil is larger and I made it thicker. Now, at first it can seem confusing how you make this pattern, but really it just takes a steady hand, and either a dang good eye or a level. Lucky my husband has the first two.
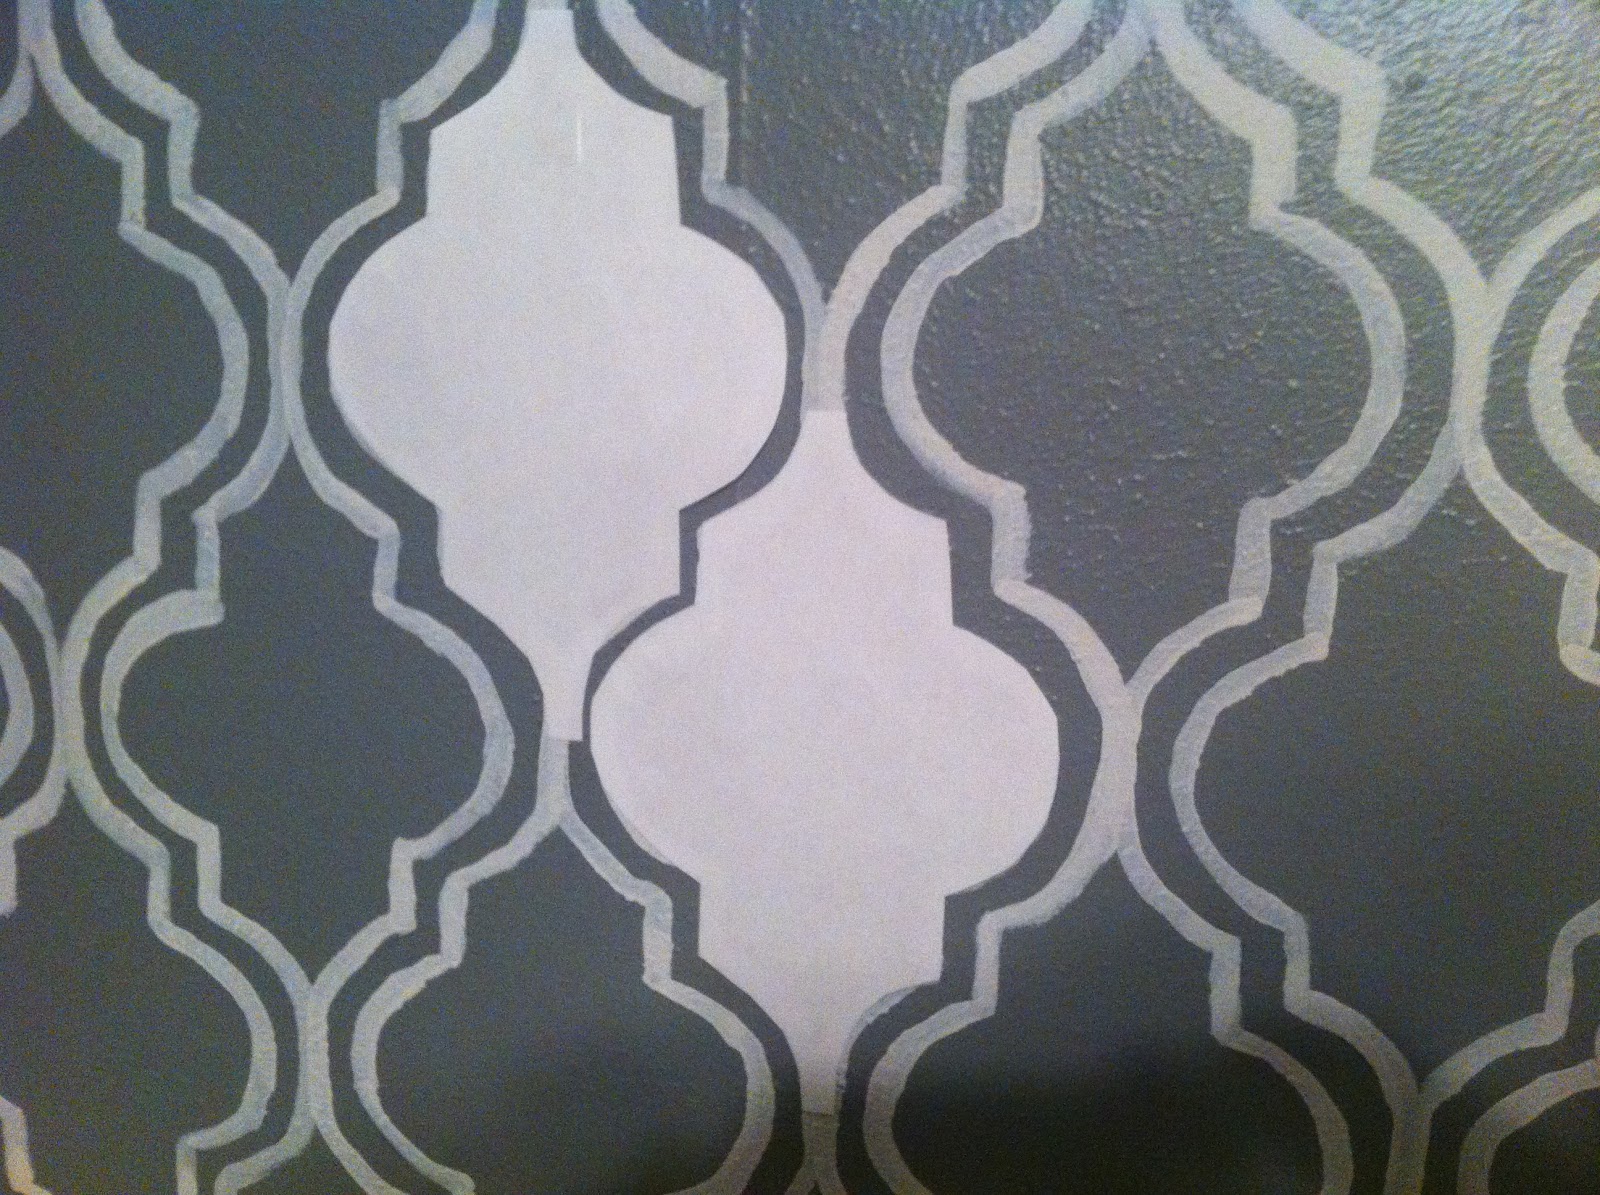
When you move the stencil over and down at the same time it makes the design more intricate and you end up with something similare to this:

If you just move over your pattern would line up and look more like this. Do you see how the stensil in each column touches the column next to it?

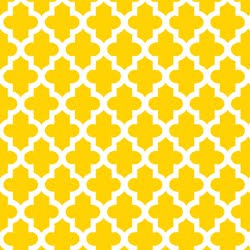
When you compare these images I think it really helps it makes sense. The first images and the second are the SAME stencil. The difference is that the columns are lined up in the same vertical plane in the first, and the stencil is offset about a 1/2" in the second.
Here is an in progress picture. The room became a HUGE mess and we were having to move the furniture around all the time! But I like that you can see the plain grey on the left and compare it to the after.

So, after your second column is made you start to make your third column. And it lines up with your first. Make sense? 1,3,5,7,9 line up. 2,4,6,8 line up. Rinse Repeat. After you have traced in pencil, we did a wall at a time, pain along the inside of your pencil lines with your brush. I liked using a firm brush, I tried several, because it made my paint lines the most consistent. The brush can be as thick or thin as you want it.
Travis and Sydney hard at work!

 I know that I've shown pictures of our room before, so this posts isn't much of a "reveal" but I've gotten so many questions about exactly how we did it that I thought it deserved its own post. We have a bunch of projects in the semi completed phase that I can't wait to show you! Thanks for checking this post out, I really suggest using a stencil (either home made or purchased) if you want to do something different! Its one of the most inexpensive ways to make an impact on a wall or room!
 I'm linked up with:
Remodelahlic


No way. It looks fab i cant believe u did this all with just a small stencil it looks amazing xxx
ReplyDelete